#09 5 rules to improve portrait shading
NOVEMBER CHALLENGE 🖤
Bonjour my little demon, ready to collect gem #09?
Whether you just joined or have been here from the beginning, thank you so much for reading.
TODAY’S GEM
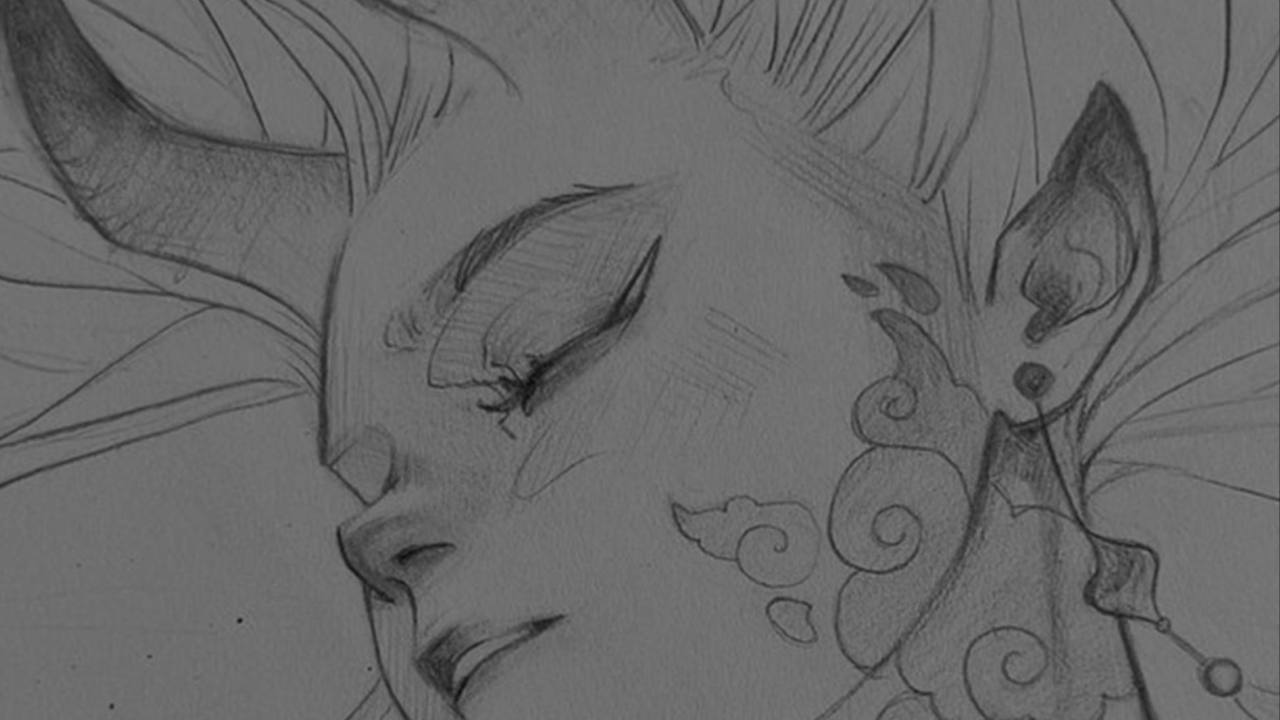
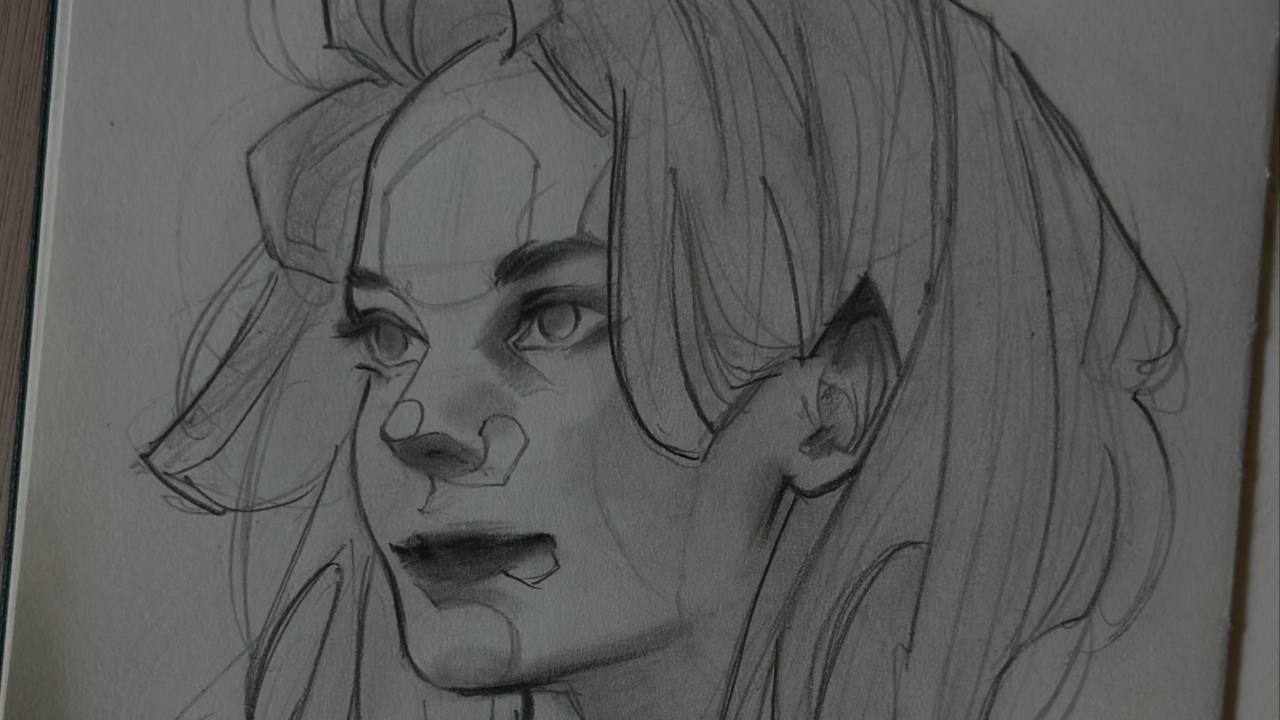
Many of you have asked me to talk about shading! Honestly, it’s probably the most intimidating part of a portrait for me, too. In my portrait course Reality to Fantasy, there’s a whole module dedicated to achieving a natural yet stylized shading. Let me share some advice from the videos:
- Be Patient and Build Slowly, Layer by Layer: This is the most important rule. Don’t rush! In the course, I teach my students to start with light strokes and gradually darken as you add more layers. This approach gives you control and avoids harsh, unfixable mistakes.
- Mark the Darkest Values First: At the start, pinpoint your darkest areas and gently mark them. This step establishes the contrast, helping you maintain balance throughout the shading process.
- Keep It Simple with 3 Values: One technique that has brought my students great results is limiting yourself to three values—a highlight, a mid-tone, and a dark shade. You’d be amazed at the depth you can achieve by sticking to this simplicity.
- Use Smooth Transitions: Never jump from very dark to very light without a gradual transition. Always use mid-tones to keep your shading smooth and natural.
- Blend, Blend, Blend: Even for a stylized look, a bit of blending is key. It softens lines and unifies your shading. You can use a blending stump, tissue, or even your finger—whatever feels comfortable.
Now, I want you to practice shading your portrait, focusing solely on these five key rules. Ignore everything else for now—the secret to better portraits is keeping it simple. Once you’ve mastered these basics, you can start adding more complexity and sophistication.
What portrait topic would you like me to cover next?
Bisous,
Léa
Responses