NOVEMBER CHALLENGE 🖤
Bonjour my little demon, ready to collect gem #22?
Whether you just joined or have been here from the beginning, thank you so much for reading.
TODAY’S GEM
In the hundreds of emails I’ve received since launching Portrait Gems, one question keeps coming up: proportions.
You struggle to draw the head in any position.
And often, your proportions just feel off.
It’s no surprise—this is the #1 challenge my students face before starting my course.
From my experience, in 90% of cases, your proportions feel off for one simple reason:
You’re skipping construction.
Stylized doesn’t mean skipping structure! Without foundational steps, your drawing might look fine at first glance, but it’ll fall apart the moment you tilt, turn, or add details to the head.
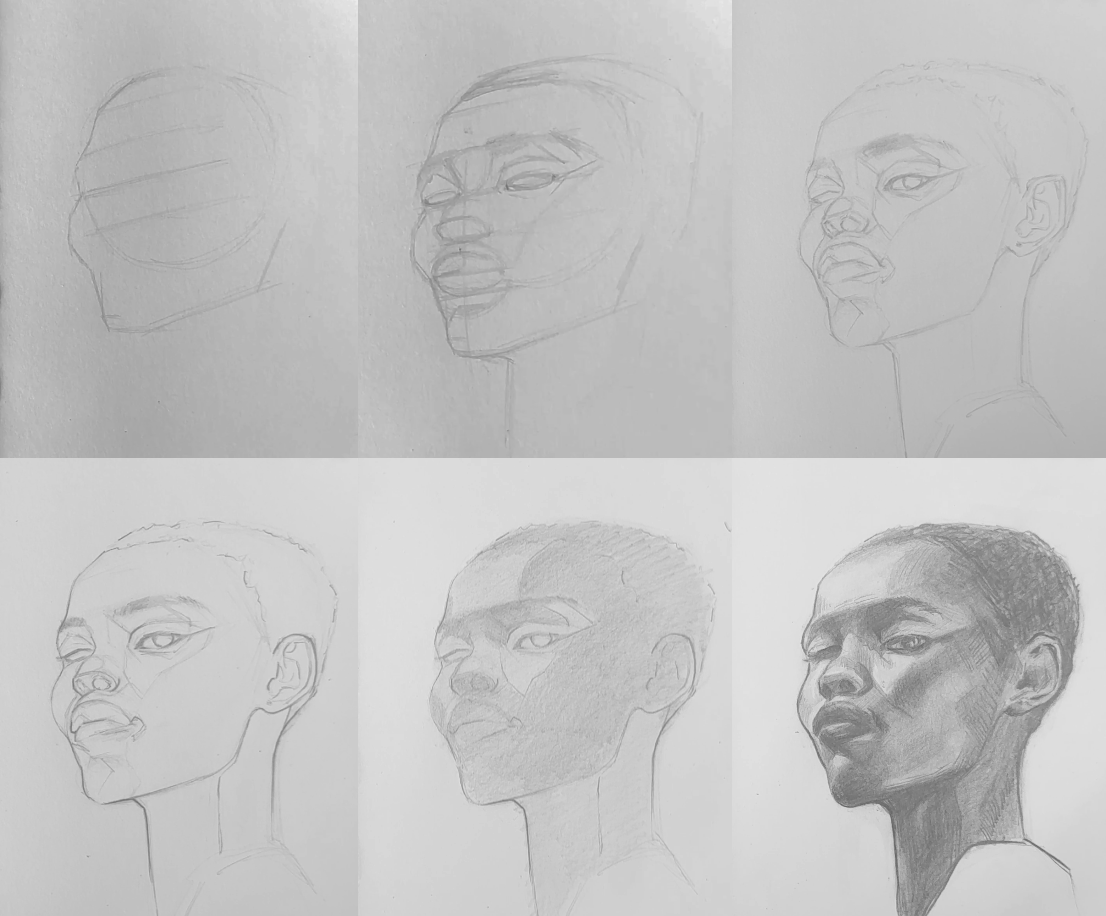
Let’s fix that with these four steps:
1️⃣ Start with a simplified head.
Forget the details for now—start with the basics. Focus on the overall shape and structure of the head. Once you’ve nailed the proportions and positioning, you can layer on features, hair, and details with confidence.
2️⃣ Use basic shapes and confident lines.
Think spheres, cylinders, and planes—not complex forms! These simple shapes give your drawing volume and direction. Sketch them with bold, clear lines to avoid stiffness. Save the small details for later.
3️⃣ Don’t commit to details too soon.
One of the biggest mistakes is jumping straight into shading or rendering the eyes, nose, and lips. Work general to specific—block in the major forms and proportions first, then refine the details as you go.
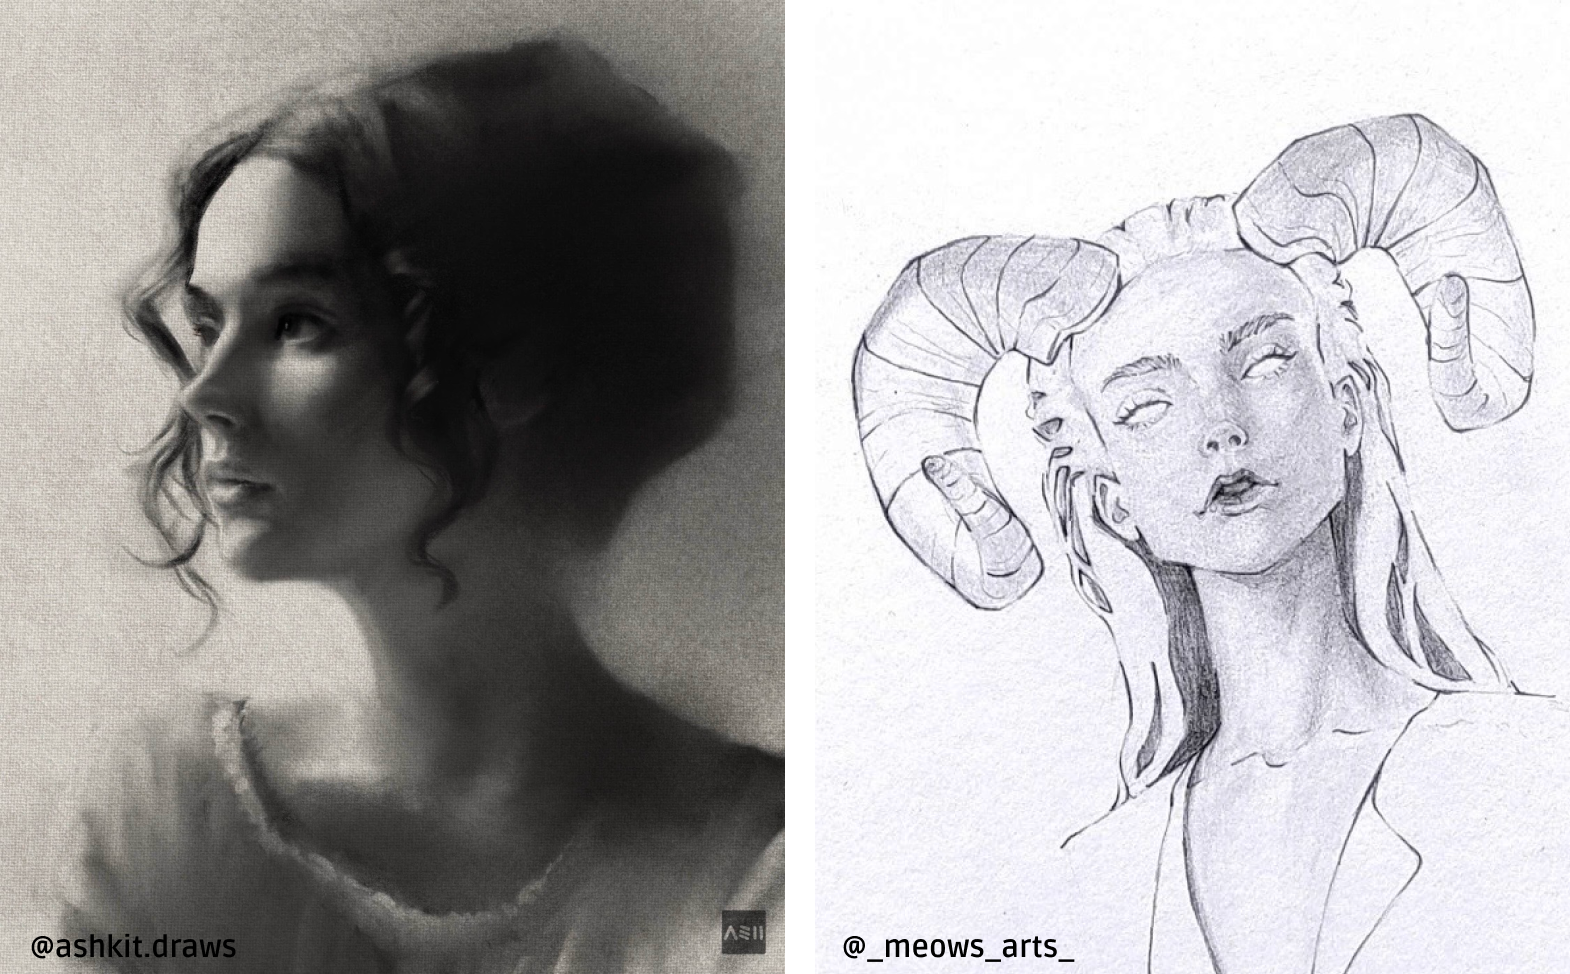
4️⃣ Adjust for stylization.
Stylization lets you bend the rules, but you still need a solid base. For example, if you want exaggerated eyes, balance them by tweaking the nose or forehead. Your goal is to create a design that feels cohesive and intentional, even with creative liberties.
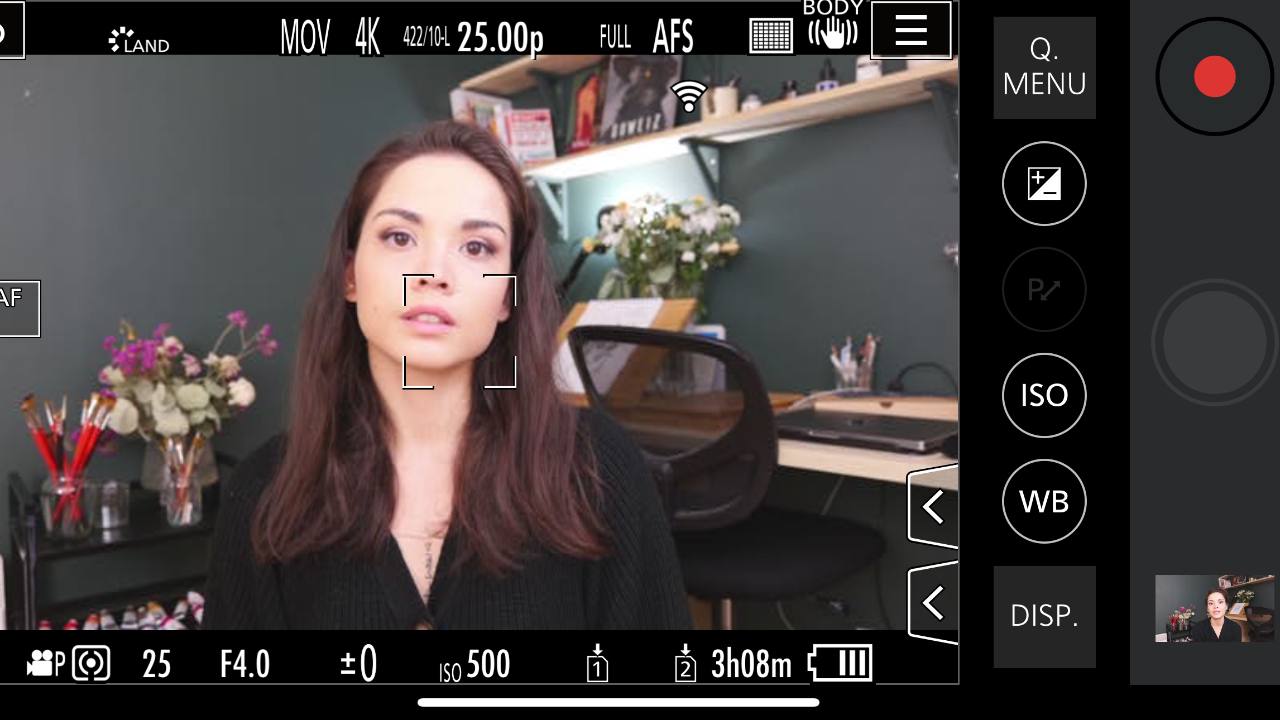
Try this today:
Find a reference photo of a portrait—bonus points for extreme angles!
Start with a simplified head: sketch the sphere for the cranium, a plane for the face, and a cylinder for the neck. No details yet—focus entirely on getting the proportions and structure right. Once the foundation feels solid, you can start adding features.
This method works. It’s the exact process my students use to master proportions and confidently draw heads at any angle.
Give it a try, and let me know how it goes! ✨
What portrait topic would you like me to cover next?
Bisous,
Léa
Responses