Portrait Gem #05
NOVEMBER CHALLENGE 🖤
Bonjour my little demon, ready to collect gem #05?
Whether you just joined or have been here from the beginning, thank you so much for reading.
TODAY’S GEM
I recently received this question: When and how to use outlines for portraits?
I have three main points in response:
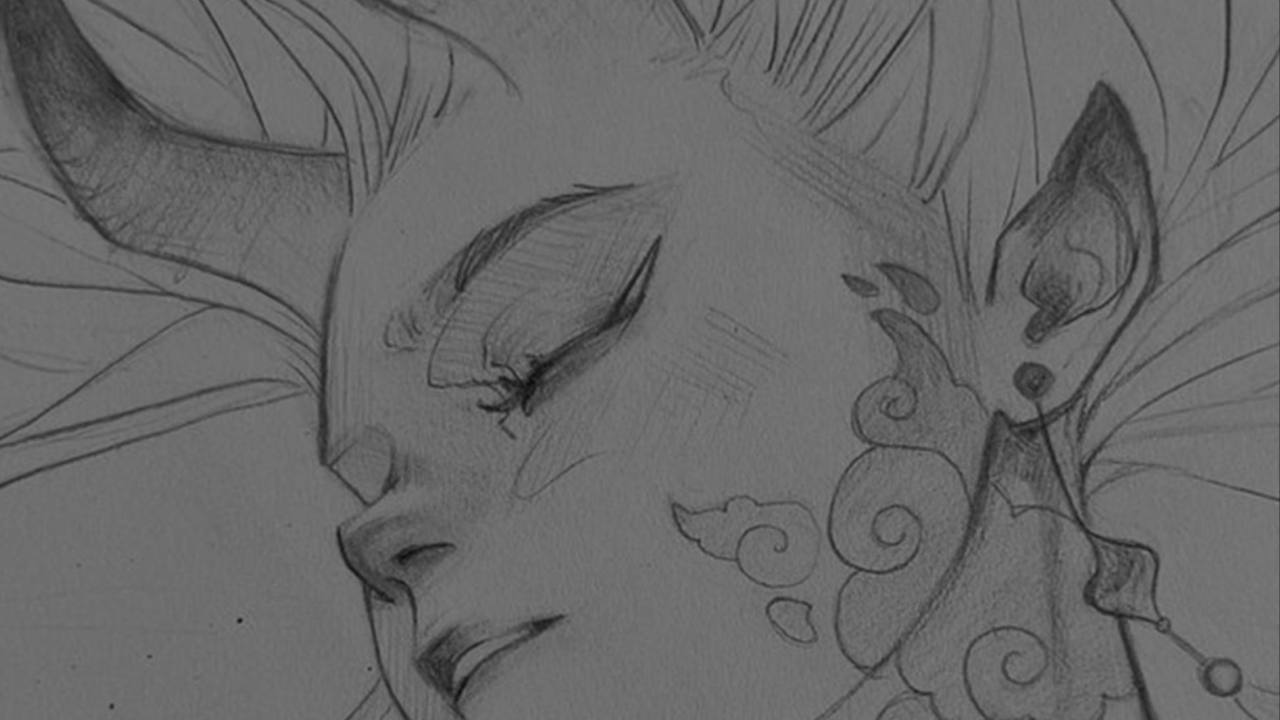
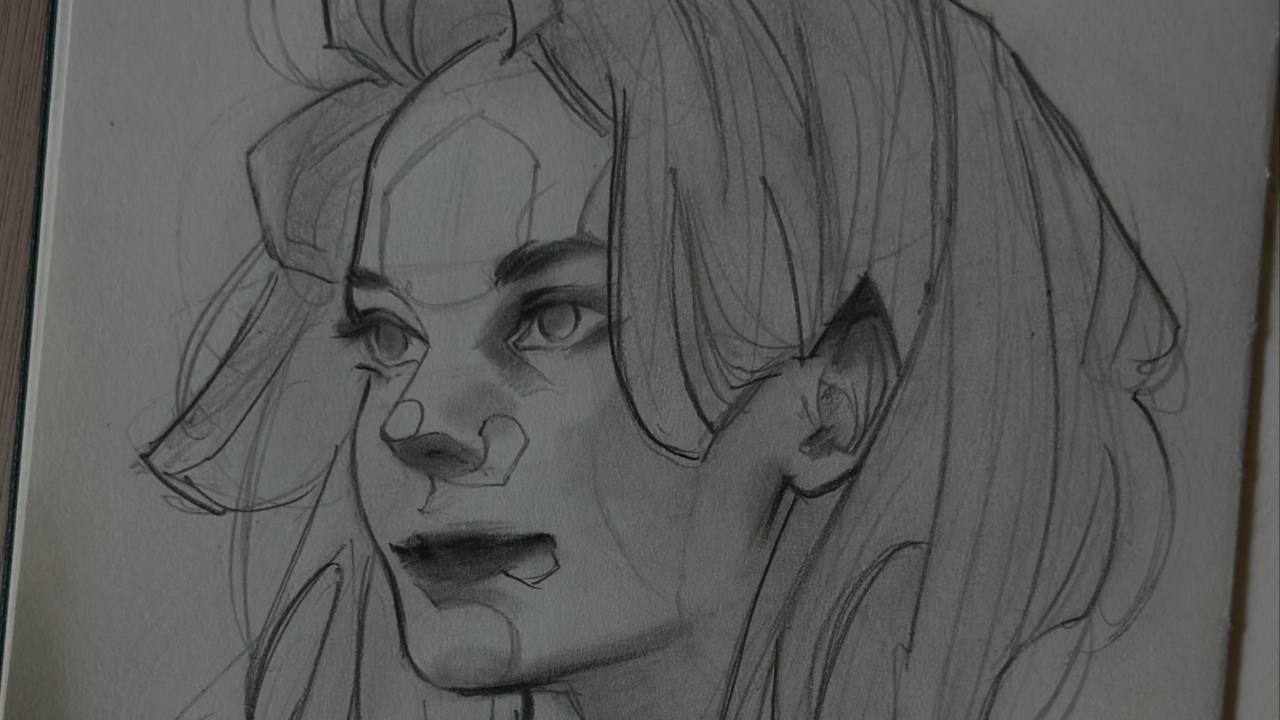
Outlines as a Guide, Not a Rule. When starting a portrait, outlines can help establish structure. I use them in the initial sketch phase to mark key features—like the shape of the face and the placement of the eyes, nose, and mouth. The key is to keep them light and loose, allowing you to adjust proportions as you go.
Once the structure feels right, I have two options:
- Keep the Outline and Add Subtle Linework. Outlines aren’t always necessary, but they can be powerful tools for emphasis. If you want to highlight a specific feature—like sharp cheekbones or a defined jawline—keeping a subtle outline can enhance that focus. Just remember: an outline shouldn't be too harsh or flat. To maintain a three-dimensional look, I recommend using dynamic linework, varying the weight of each line, and blending them with shading.
- Soften or Erase for Realism. If you want a more realistic effect, gradually soften or erase the outlines, letting values and shading define the final form. Focus on the transitions between light and shadow instead. Let the contrast between dark and light areas shape the features, rather than relying on lines.
In the end, it’s up to you. I’m a bit of a control freak and prefer to break down the process, so I always start with an outline. Later, I decide whether to keep it for a stylized effect or blend it into the shading for a realistic finish. Some artists skip outlines entirely because they find them limiting—experiment and find what suits your style best!
What portrait topic would you like me to cover next?
Bisous,
Léa
Responses